Showing posts with label self-sufficiency. Show all posts

Saturday, June 23, 2012

The ever prolific green.

It's been a while since we've written but a lot has happened since we last posted.

The heat has been increasingly drying. We deep water nearly every day now. A boisterous rainstorm the other day flooded the yard with much needed moisture but smaller seedlings have dried up in just a few days absence of our watering routine. Only the thick-rooted, absorbent plants survive here.

Weeding is more work than usual; they seem to be sprouting constantly. It keeps us busy maintaining the yard but we don't hesitate to visit the garden.

Our first salad harvest! Greens like mad, green onion and oregano.

The greens are quite prolific, despite the 3 hours or so of direct sunlight they receive.

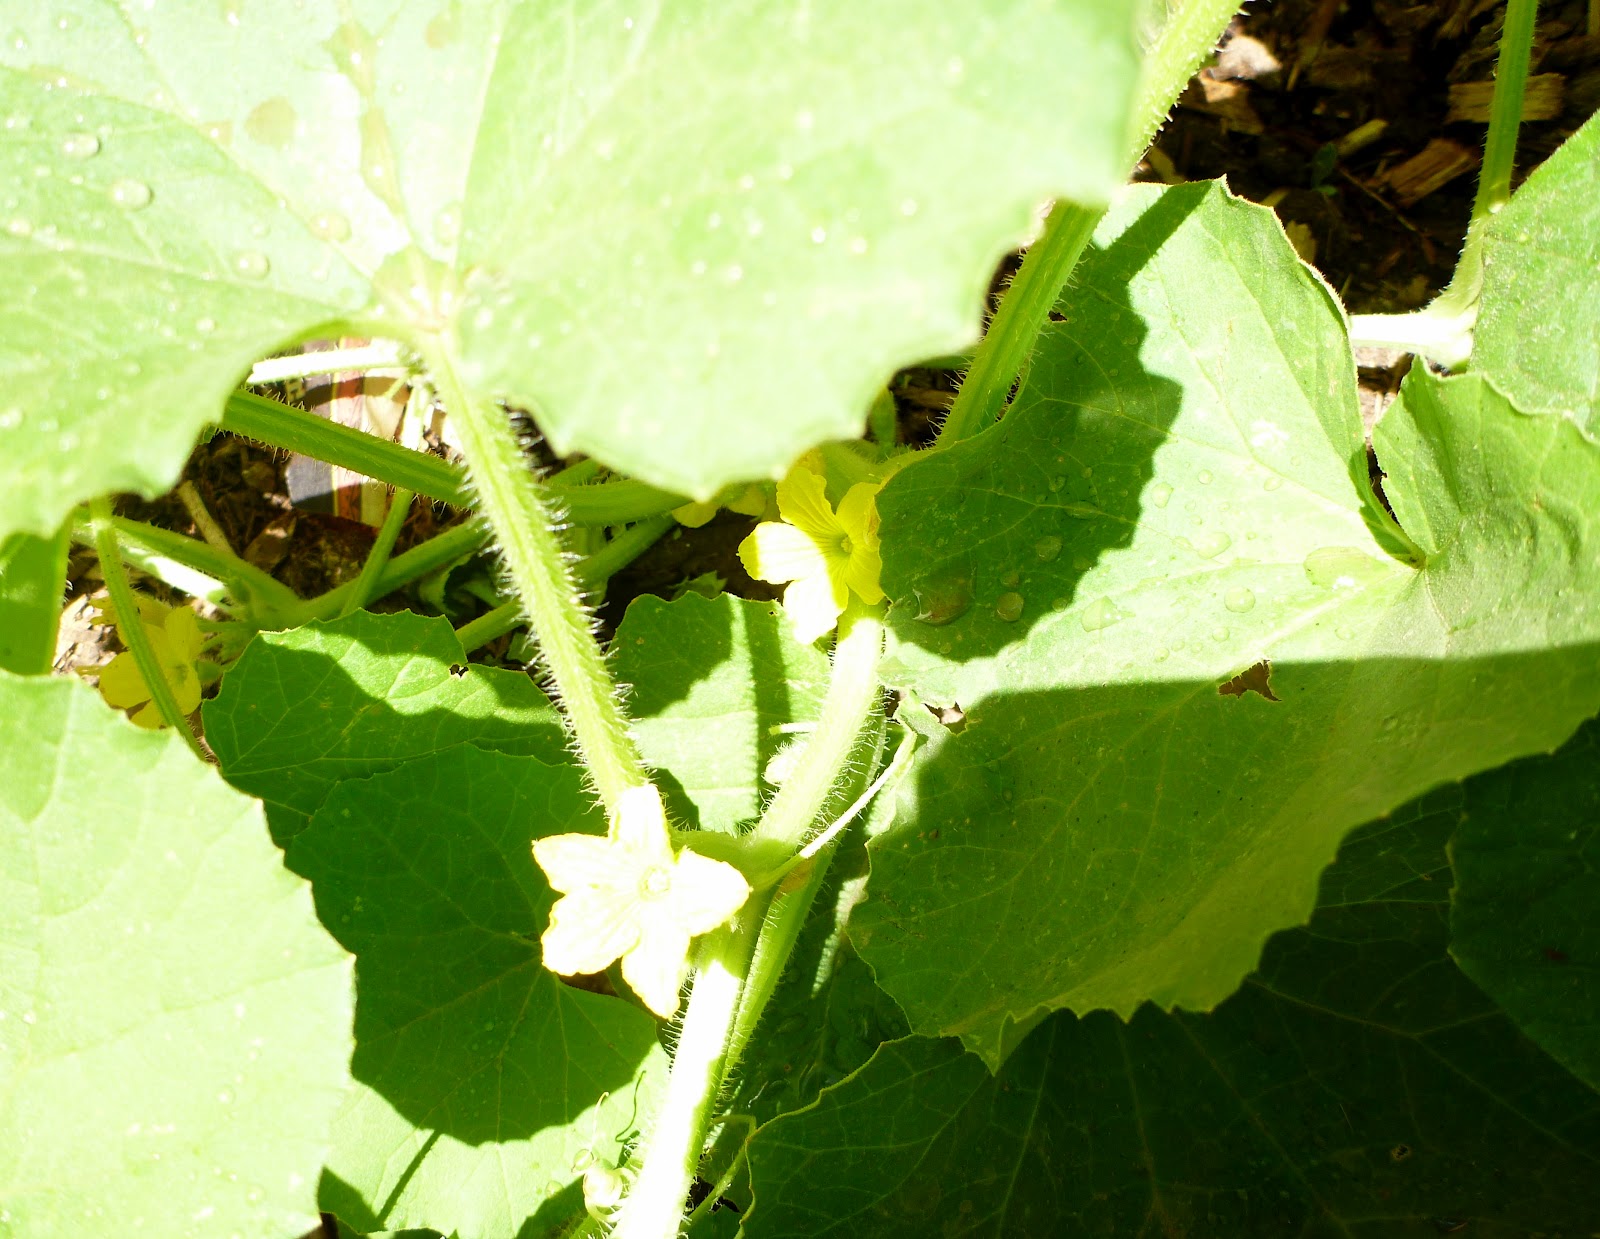
Our productive cucumber plants.

Cucumber flowers.

Salvia gregii, French dwarf marigolds, and possibly tomatillos.

Our cat prowling the roadrunner.

S/He knows.

Our flower garden sunflowers.

We can't quite tell what these are but they're the first flowers to have opened this season.

Jordan slowly soaking our squash and watermelon rows.

Lazarus, the grape cutting we thought had died.

Another soon-to-bloom sunflower.

The nightshades bed panorama.

Thursday, June 14, 2012

Free Plants Part Two: Cuttings

Propagation from cuttings is relatively simple, though we've had the lowest success rates with this method. We're becoming increasingly conscientious in our experiments, however, and have lots of hope for future success. 


We collect cuttings from nearly any plant we're interested in growing, popping or cutting off a stem of new growth at the node. We take pieces of plants from nurseries and from yards. It's polite and ethical to ask the permission of the plant owner or retailer first. Big box nurseries like Home Depot tend not to be very proprietary over a stem or two. 

It's important to make a clean cut so as to not infect the rest of the plant. If the stem doesn't pop off easily, a sterile pocket knife can be used. 

The ideal size for a new cutting is 3-5". Avoid plants with flowers or buds because you want a cutting that will put its energy into root production rather than reproduction. 

Plant in a rich potting soil. We're using the same EcoScraps Organic Potting Mix that we hustle on weekends. It's good stuff.

To maintain higher humidity, we cover the cuttings with our free cloches: halved plastic milk cartons.


With consistent moisture, sunlight, and good soil, the cutting should start rooting quickly. To help the rooting process along, we use a free, natural rooting hormone that I'll write about soon.

Friday, June 1, 2012

Cider Update.

The first batch went smoothly, as hoped! It was drier than most bar ciders, cloudier, and had notes of light caramel before it went down, quite satisfyingly we might add! We shared a liter bottle of it with our friends over a game of the Settlers of Catan and decided we'd be making more.

The Sandia foothills via Copper Road.
After a quick hike out here with a meetup group, we swung over to Costco to pick up some kitchen staples. Costco has a not-from-concentrate, preservative-free apple juice for half the cost of the gallon from Sunflower though it comes in thin plastic, which I find unsuitable for pressurized brewing. With about a fifth of the cider left, we poured in most of the gallon of the Costco stuff. It's filtered and not Organic but the flavor is great and the cost is half so we're willing to experiment. Some of the first batch is sitting in the fridge, waiting to be enjoyed at a later month as we also see if aging is truly worth the time.

Batch number two.
Have any of you started brewing since our last post? What are your results like?

Monday, May 28, 2012

Hard apple cider.

I started homebrewing hard cider in 2011, when I lived in Tempe and wanted to make a cheap source of cider. My method hasn't improved significantly as I've just added an airlock to control flavors and prevent a gooey cleanup every day the cider bubbles over.

The cider bubbling happily.
We started this batch two days ago and usually keep it going for a week. The organic, preservative-free cider we bought in the 1 gallon glass carboy sells for about $8 here in Albuquerque. Preservatives kill yeast and won't let the brew ferment properly. We picked up the airlock along with some Champagne yeast from my LHBS for $6. The airlock and yeast can be used indefinitely and it's such a low up-front cost that we felt like skimping really isn't worth it. The airlock beats the rubber balloon and hole method by a lot.

We didn't add sugar or honey to this batch because we're looking to see what a week is like for the unadulterated juice.  It's also been over six months since I've made a batch so we'll see what the flavor profile is like. Costco has a Sonoran honey jug for the cheapest price around so we may consider adding it if we feel like it's lacking enough tasting notes or alcohol. Though, living a mile up, we drink less because of the thinner air.

Anyhow, here's our extremely simple and frugal method:

Purchase:
1 gal Organic Apple Juice/Cider without preservatives, preferably pasteurized
1 packet of Champagne yeast (There are cider yeasts available also)
1 airlock with rubber stopper (Bring the vessel in question so that a diameter can be matched)
White vinegar

1. Clean the airlock with a vinegar and water solution and allow to air dry.
2. Pop open the glass jug and pitch the yeast. Our packet was intended for a 5 gal recipe so just put in less, in case something spoils the brew so you wouldn't have to buy yeast again.
3. Insert the sterilized airlock and fill it with water.
4. Wait! It took me anywhere from 4 days to several weeks to determine if my brew was ready. If you taste it, pour it out or use a sterilized baster. Every time you open it beyond the initial pitching, you allow bacteria to possibly infect and compete with the yeast. So, wait for the bubbles to slow significantly. The longer you wait, the fewer sugars that remain, unless you use maltodextrin or lactose which cannot be consumed by yeast, and the dryer the cider. YMMV, so if you feel like you have achieved the proper flavor, cold rack it!
5. Drink up, sucker! If you leave some yeast sediment at the bottom, you may use it to create the next batch. If you age it, 3-12 months will suffice and give it a flavor nearer to white wine. Pour it off of the sediment into a sterilized jar such as one from a previous batch.

There are countless additions to your brew, such as raisins, pectic enzymes, oak, bourbon, that you can mix in and many forums cite varied results. Your first batch and your last batch will never be the same using this method but the variety makes for entertaining experimentation. If you find that it tastes too much like hooch, age it. It will mellow out with time. But, we prefer nothing better than fresh cider with some friends!

Growing food.

As many people know, life gets in the way. But, Jordan and I have documented our gardening efforts on camera so even though we've neglected to post them, we do have some proof! We moved into a house with several priorities: wooden floors so the dog wouldn't shed into carpet, a large yard for gardening and letting the pooch run, and a decent neighborhood near the CBD of town. Amazingly, we found the perfect location within 24 hours of visiting Albuquerque. No thanks, Craigslist, though, as we used a copy of the Alibi we found at Tractor Brewing Co. our first night here. What follows are the episodes of gardening we've gotten involved in since we moved in.  So, I relieve my monologue to these photographs:
We brought home an SUV-full of composted donkey manure from a rescue out here.

Hauling manure is tiring work!

Greens and Radish bed.

Chinese Mustard Greens and the temporary compost heap.

An overview of the backyard with our nightshades and cucumber beds.

The original garden layout, now modified from seeds acquired.

Tree planting hole with a mound of steer manure for some nutrients.
We planted lentils to fix nitrogen into our cucumber bed. Later, we'd till them in.
The fruit trees are all planted. Santa Rosa plum, Moorpark apricot, and Redhaven peach are varieties sold here that we found could survive the frosts of ABQ.
 
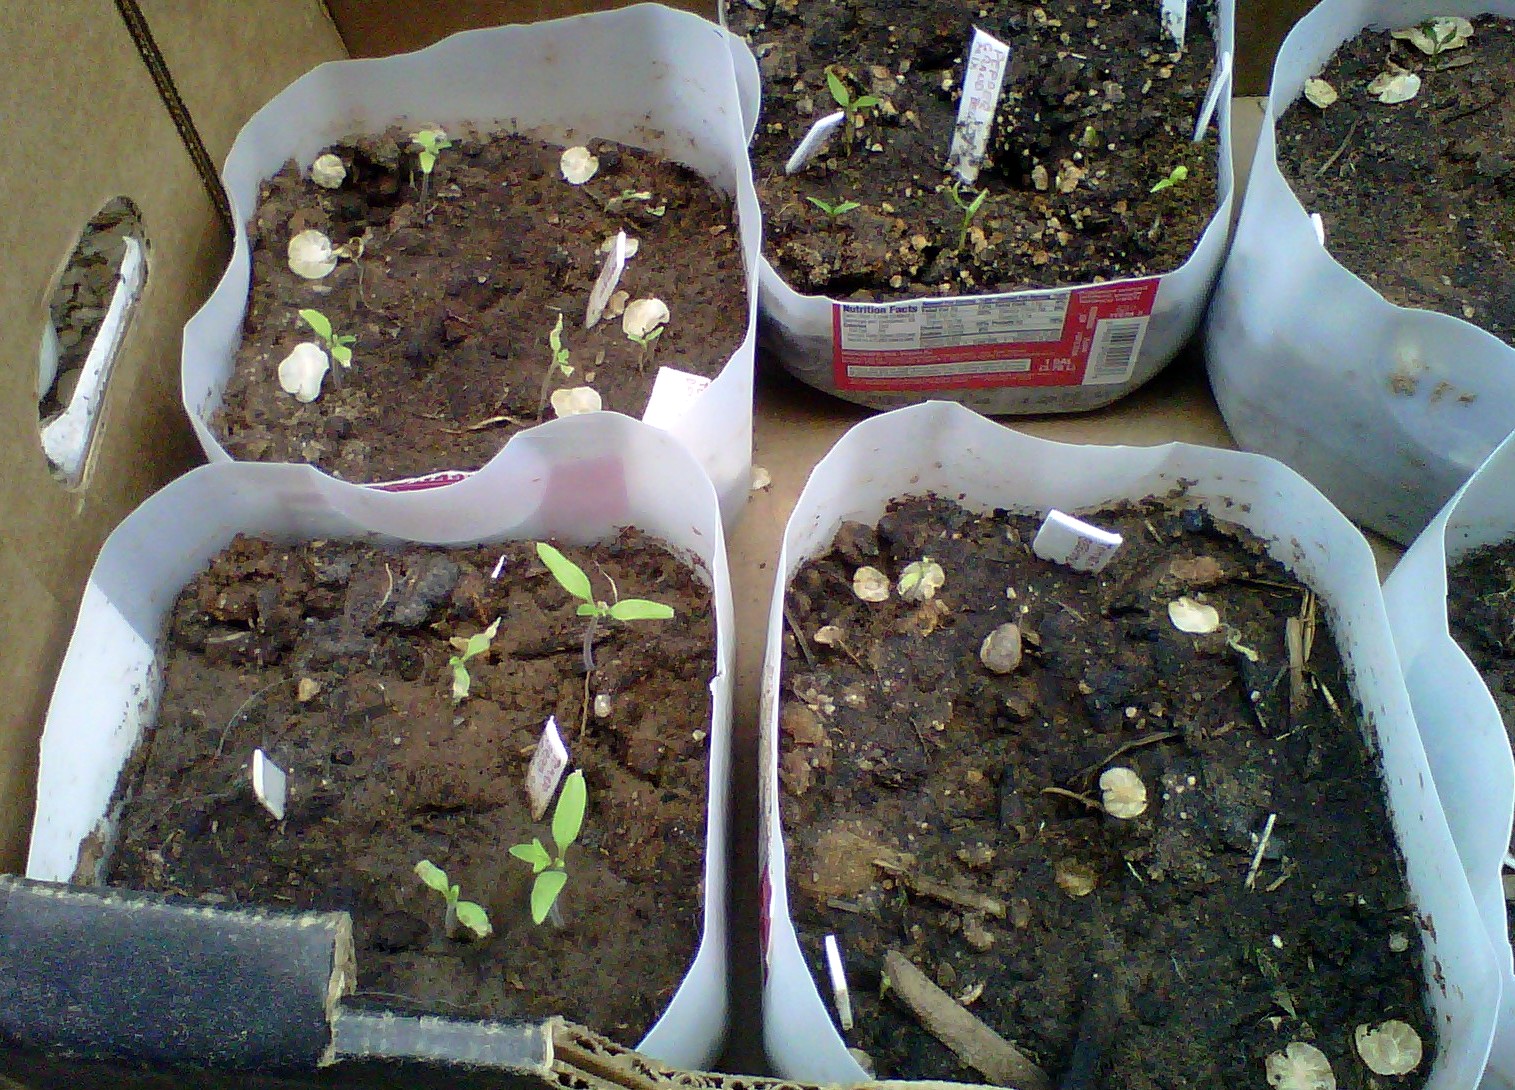
The indoor seedlings we raised including heirloom tomatoes, watermelon, and toy peppers.
Yucca in bloom.

The front yard bed with rescued herbs and squash/melon mounds.

Our happily thriving flower bed out front. It's a bunch of dollar store flower mixes.

A transplanted Italian Heather.

The cyan Morning Glory stretching out its grasping arm.

Pots left over from the rescued herbs.

Mustard greens emerging.

Succulents we're trying to root.

Our greens bed thriving! Buttercrunch, slow-bolting Spinach and French Dwarf Marigolds galore.

This Salvia gregii was a disgusting motley of dead branches when we moved in. I pruned it and noticed some of the branches were still green inside. We left for a camping trip and came back to see these gorgeous blooms from what was assumed to be a dead plant! Identification took a few weeks of visiting Home Depots.

French Marigolds doing quite well. They repel certain insects from our beets and radishes.

Sweet Peas climbing quite gloriously on an existing chicken wire trellis.

A very satisfied Cherry Bell radish.

Our potato barrel experiment.

Cheap source of cloches.

Compost, from an earlier container (left) to one Jordan built (right).

Simply planting the bottoms of green onion bunches gives you healthy plants later.

Sprouting Tomatillos.

The sole surviving transplant from our starter seedlings. We lost nearly two dozen.

The sole leafing fruit tree we planted. Apricot, I think.

The cucumbers emerging their true leaves.

The peas are yielding!

A transplanted celery bottom.

The celery bottom is doing quite well! Easier than waiting for seeds, certainly.
I wanted to mention that we've done quite a bit of work to make some decent soil over the caliche present out here. Caliche retains salt and makes drainage very difficult. Luckily, we found plenty of opportunity to amend the soil. For one, we threw in shit tons (pardon the pun) of composted manure. We also put down cardboard boxes from when we moved in as a weed barrier and moisture retainer and they've broken down since from regular watering. We found an alley with rotting logs that we threw in for hugelkultur. We also found tons of chipped mulch sitting in an empty lot that we filled the car with, much like the manure; it had glass shards and cigarette butts that we picked out. I'm fine with that as it cost us nothing but time and a bit of gas. Lastly, we picked up ripped bags of various soils from Home Depot for a huge discount. It makes up the majority of our front bed.

Overall, we've spent little on our gardening, and growing from seeds is simply the more economical choice. We plan on letting successful plants go to seed so we can collect and store them. This is yet another reason why buying hybrid seedlings is unsustainable for the gardener. Plenty of decent seed catalogs exist (even eBay is a good choice), just googling some reviews is sufficient. We found that craigslist is a great source for free materials like wood and cinder for edging, manure, and even the occasional chicken wire or bamboo stakes for trellising. Driving through your alleys reveals much more than trash; it gives you an opportunity to make your garden flourish!

Do you have questions, suggestions, whine or wine to offer? We'd love to hear from you!