Showing posts with label free. Show all posts

Thursday, June 14, 2012

Free Plants Part Two: Cuttings

Propagation from cuttings is relatively simple, though we've had the lowest success rates with this method. We're becoming increasingly conscientious in our experiments, however, and have lots of hope for future success. 


We collect cuttings from nearly any plant we're interested in growing, popping or cutting off a stem of new growth at the node. We take pieces of plants from nurseries and from yards. It's polite and ethical to ask the permission of the plant owner or retailer first. Big box nurseries like Home Depot tend not to be very proprietary over a stem or two. 

It's important to make a clean cut so as to not infect the rest of the plant. If the stem doesn't pop off easily, a sterile pocket knife can be used. 

The ideal size for a new cutting is 3-5". Avoid plants with flowers or buds because you want a cutting that will put its energy into root production rather than reproduction. 

Plant in a rich potting soil. We're using the same EcoScraps Organic Potting Mix that we hustle on weekends. It's good stuff.

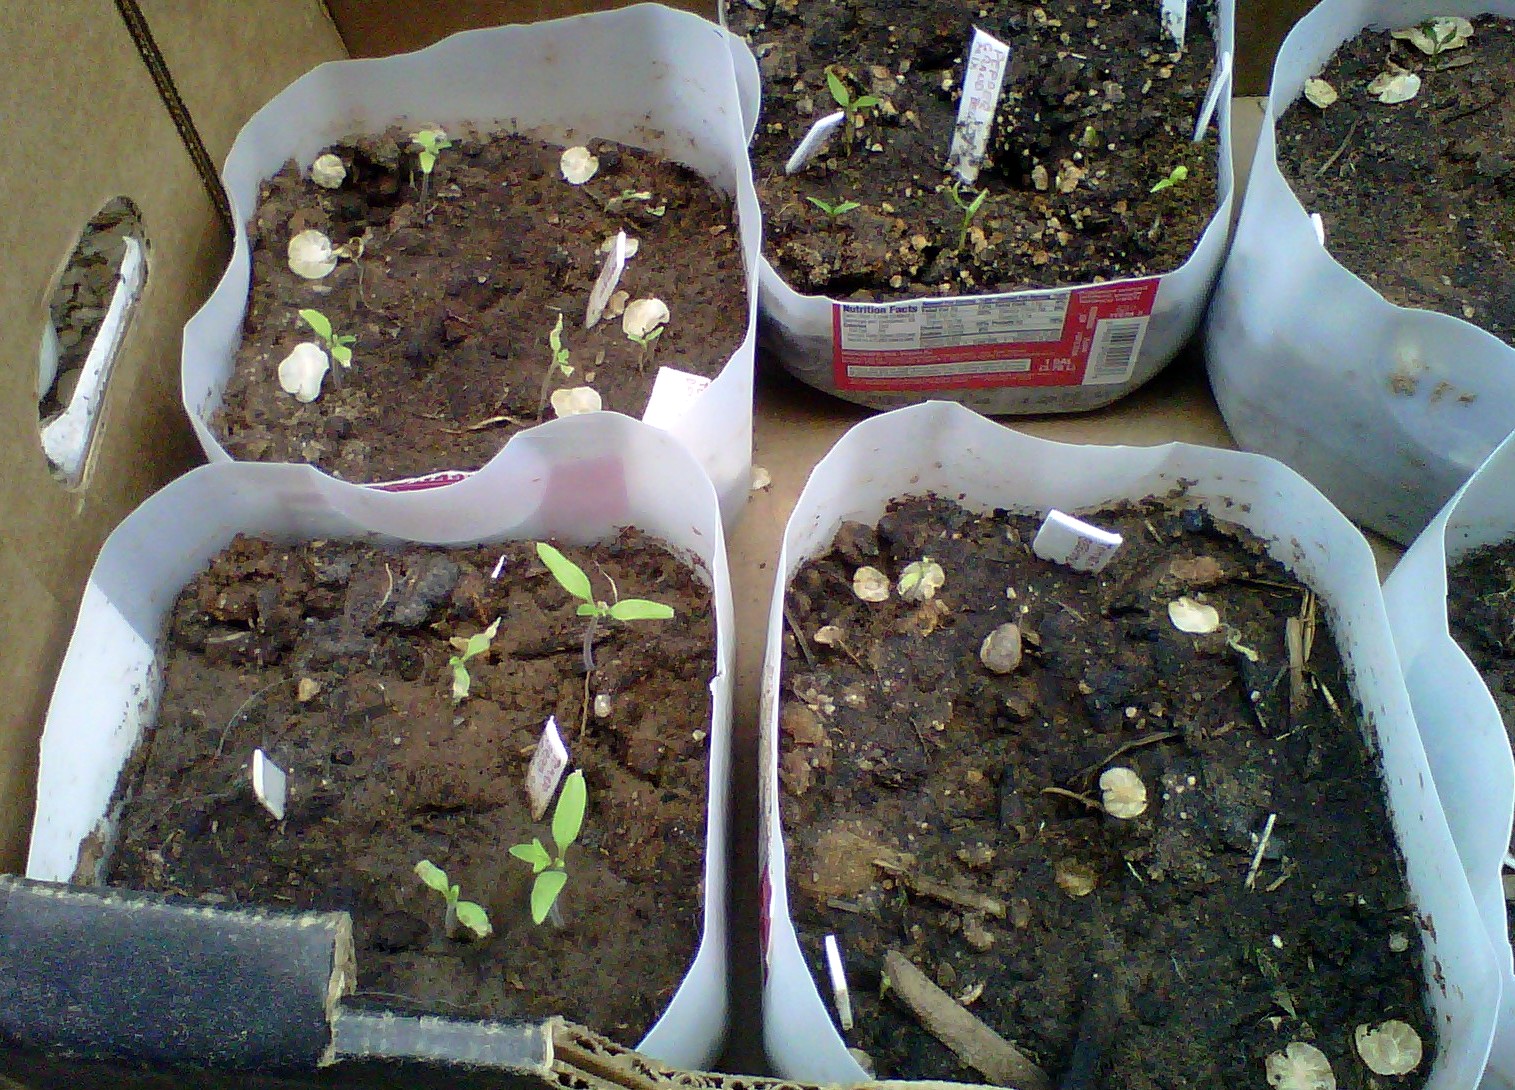
To maintain higher humidity, we cover the cuttings with our free cloches: halved plastic milk cartons.


With consistent moisture, sunlight, and good soil, the cutting should start rooting quickly. To help the rooting process along, we use a free, natural rooting hormone that I'll write about soon.

Friday, June 1, 2012

Free Plants: Part One

We *try* to grow everything we can get our hands on. I'm going to write about our experiments over a series of posts, with each post focusing on a different method of propagation. First up, succulents!

Anytime I see a succulent display, I scour the shelves and ground for fallen leaves and scoop up anything that looks interesting. These little leaves would otherwise be swept up and dumped, so I have no qualms about taking them home and giving them a chance to become full-fledged plants.

Succulents are easy to propagate:

1. They need to dry for a couple of days until they form a callus at the cutting. I leave mine in a bowl near a window.

Collected cuttings.
 2. After the end's dried out, I prop the leaf or stem upright in a sandy soil. Right now, I use native soil from my yard. Succulent rearing is about the only thing this soil is good for on its own.

3. Water regularly, especially as the plant establishes roots. Make sure that the drainage is excellent, as they don't like soggy soil.

Starting to root.
4. Once the plant is established, you can water less frequently.

5. Continue to take cuttings from the established plant and you have your own infinite source of free succulents. Succulents make terrific gifts!

Monday, May 28, 2012

Growing food.

As many people know, life gets in the way. But, Jordan and I have documented our gardening efforts on camera so even though we've neglected to post them, we do have some proof! We moved into a house with several priorities: wooden floors so the dog wouldn't shed into carpet, a large yard for gardening and letting the pooch run, and a decent neighborhood near the CBD of town. Amazingly, we found the perfect location within 24 hours of visiting Albuquerque. No thanks, Craigslist, though, as we used a copy of the Alibi we found at Tractor Brewing Co. our first night here. What follows are the episodes of gardening we've gotten involved in since we moved in.  So, I relieve my monologue to these photographs:
We brought home an SUV-full of composted donkey manure from a rescue out here.

Hauling manure is tiring work!

Greens and Radish bed.

Chinese Mustard Greens and the temporary compost heap.

An overview of the backyard with our nightshades and cucumber beds.

The original garden layout, now modified from seeds acquired.

Tree planting hole with a mound of steer manure for some nutrients.
We planted lentils to fix nitrogen into our cucumber bed. Later, we'd till them in.
The fruit trees are all planted. Santa Rosa plum, Moorpark apricot, and Redhaven peach are varieties sold here that we found could survive the frosts of ABQ.
 
The indoor seedlings we raised including heirloom tomatoes, watermelon, and toy peppers.
Yucca in bloom.

The front yard bed with rescued herbs and squash/melon mounds.

Our happily thriving flower bed out front. It's a bunch of dollar store flower mixes.

A transplanted Italian Heather.

The cyan Morning Glory stretching out its grasping arm.

Pots left over from the rescued herbs.

Mustard greens emerging.

Succulents we're trying to root.

Our greens bed thriving! Buttercrunch, slow-bolting Spinach and French Dwarf Marigolds galore.

This Salvia gregii was a disgusting motley of dead branches when we moved in. I pruned it and noticed some of the branches were still green inside. We left for a camping trip and came back to see these gorgeous blooms from what was assumed to be a dead plant! Identification took a few weeks of visiting Home Depots.

French Marigolds doing quite well. They repel certain insects from our beets and radishes.

Sweet Peas climbing quite gloriously on an existing chicken wire trellis.

A very satisfied Cherry Bell radish.

Our potato barrel experiment.

Cheap source of cloches.

Compost, from an earlier container (left) to one Jordan built (right).

Simply planting the bottoms of green onion bunches gives you healthy plants later.

Sprouting Tomatillos.

The sole surviving transplant from our starter seedlings. We lost nearly two dozen.

The sole leafing fruit tree we planted. Apricot, I think.

The cucumbers emerging their true leaves.

The peas are yielding!

A transplanted celery bottom.

The celery bottom is doing quite well! Easier than waiting for seeds, certainly.
I wanted to mention that we've done quite a bit of work to make some decent soil over the caliche present out here. Caliche retains salt and makes drainage very difficult. Luckily, we found plenty of opportunity to amend the soil. For one, we threw in shit tons (pardon the pun) of composted manure. We also put down cardboard boxes from when we moved in as a weed barrier and moisture retainer and they've broken down since from regular watering. We found an alley with rotting logs that we threw in for hugelkultur. We also found tons of chipped mulch sitting in an empty lot that we filled the car with, much like the manure; it had glass shards and cigarette butts that we picked out. I'm fine with that as it cost us nothing but time and a bit of gas. Lastly, we picked up ripped bags of various soils from Home Depot for a huge discount. It makes up the majority of our front bed.

Overall, we've spent little on our gardening, and growing from seeds is simply the more economical choice. We plan on letting successful plants go to seed so we can collect and store them. This is yet another reason why buying hybrid seedlings is unsustainable for the gardener. Plenty of decent seed catalogs exist (even eBay is a good choice), just googling some reviews is sufficient. We found that craigslist is a great source for free materials like wood and cinder for edging, manure, and even the occasional chicken wire or bamboo stakes for trellising. Driving through your alleys reveals much more than trash; it gives you an opportunity to make your garden flourish!

Do you have questions, suggestions, whine or wine to offer? We'd love to hear from you!

Thursday, May 17, 2012

Restoring Cast Iron

Cast iron lasts lifetimes and is readily available for next to nothing at thrift stores, or you can find it new for less than you'd spend on a non-stick that'd only last, if you're careful, for about a decade. We found an ugly, rusted, abused pan at a thrift store for a few bucks and decided to restore it. The process was a bit time-consuming and smoky, but we can now fry eggs and sear meat, which was impossible in the cast iron enamel cookware I'd brought with me. 

How to do it:

1. Scrub the cast iron with steel wool

2. Coat it with fat (we used leftover bacon fat)

3. Stick it in the oven on broil and let it heat up until it's smoking (open your windows and be prepared for everything to smell like bacon grease for a week)

4. Take out the pan and let it cool

 5. Repeat steps 2-4 until the cast iron has a silky black patina and is smooth, i.e., not sticky, to the touch

To clean, you just rinse and scrub without soap. Stick the pan on a hot stove to evaporate any excess liquid. Periodically rub it down with oil.

Free Furniture!

We relocated to Albuquerque with a carload each and a firm commitment to not plowing through our savings. We hauled kitchen equipment, clothes, spices, seeds, and critters. Everything else was scrounged or bargain hunted. Check out some of our finds:
Cat couch. We were driving through the neighborhood just as the previous owner was placing it on the curb. He also gave us a working printer, which we're using to print shipping labels for Ebay.


We found this fan on the curb while walking Margaux two nights ago. There's nothing wrong with it.

The TV's an alley find for Vadim's video game console. The flower's are Mother's Day leftovers.

Driving home from a dinner party, we spotted this hutch. With a coat of $1 oops paint from Lowe's, it's like new and serves as a perfect coffee station. We found the coffee maker for $5 from Goodwill. It retails new for $80.

The bed was a desperate situation for a bit. Initially, we were camping out on Vadim's crash pad. Soon after, we dumpster dived a very questionable mattress from the 70s, which took a half gallon of vinegar and a lot of elbow grease to make somewhat sanitary. A week later, we found a futon in someone's front yard. They didn't want it and we were more than happy to haul it away. The sketchy mattress serves as additional support beneath the futon's padding. Vadim, by the way, is compulsively researching knives in the background. Jordan chose an Opinel :)