Showing posts with label frugal. Show all posts

Saturday, June 23, 2012

The ever prolific green.

It's been a while since we've written but a lot has happened since we last posted.

The heat has been increasingly drying. We deep water nearly every day now. A boisterous rainstorm the other day flooded the yard with much needed moisture but smaller seedlings have dried up in just a few days absence of our watering routine. Only the thick-rooted, absorbent plants survive here.

Weeding is more work than usual; they seem to be sprouting constantly. It keeps us busy maintaining the yard but we don't hesitate to visit the garden.

Our first salad harvest! Greens like mad, green onion and oregano.

The greens are quite prolific, despite the 3 hours or so of direct sunlight they receive.

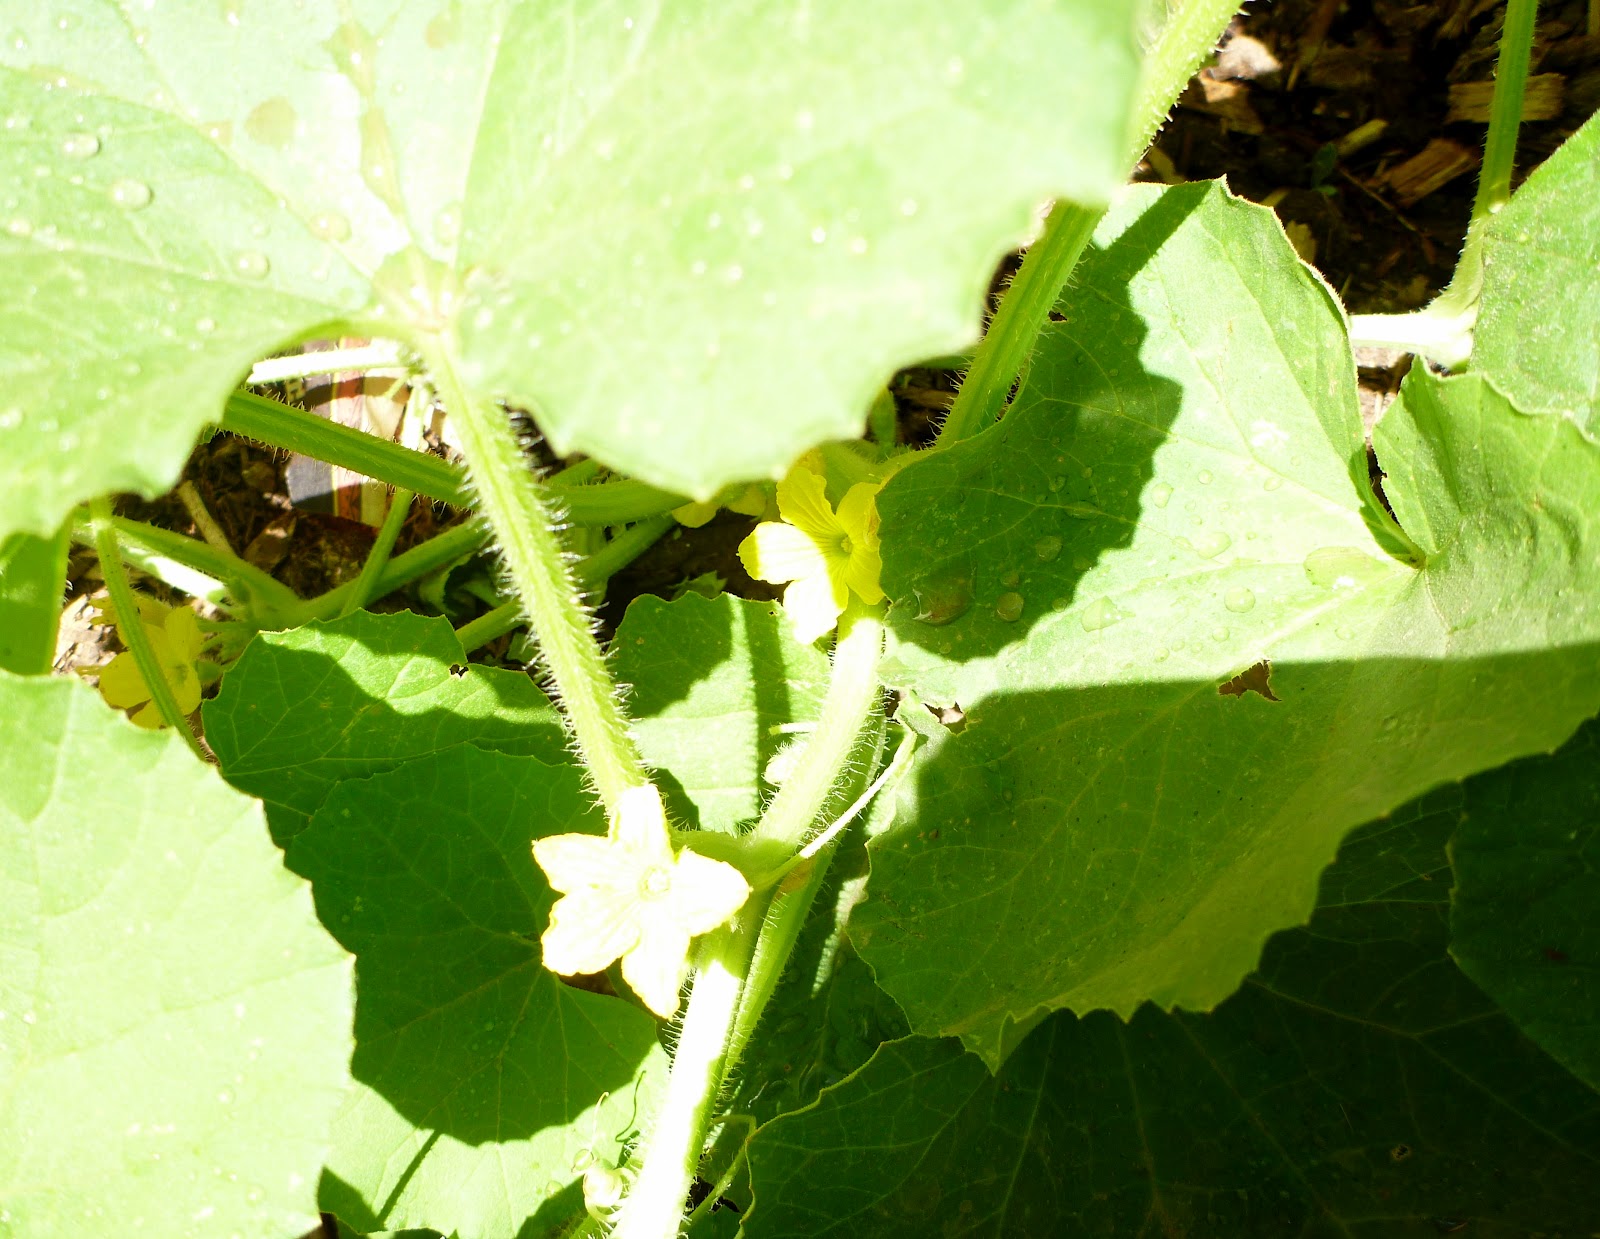
Our productive cucumber plants.

Cucumber flowers.

Salvia gregii, French dwarf marigolds, and possibly tomatillos.

Our cat prowling the roadrunner.

S/He knows.

Our flower garden sunflowers.

We can't quite tell what these are but they're the first flowers to have opened this season.

Jordan slowly soaking our squash and watermelon rows.

Lazarus, the grape cutting we thought had died.

Another soon-to-bloom sunflower.

The nightshades bed panorama.

Thursday, June 14, 2012

Free Plants Part Two: Cuttings

Propagation from cuttings is relatively simple, though we've had the lowest success rates with this method. We're becoming increasingly conscientious in our experiments, however, and have lots of hope for future success. 


We collect cuttings from nearly any plant we're interested in growing, popping or cutting off a stem of new growth at the node. We take pieces of plants from nurseries and from yards. It's polite and ethical to ask the permission of the plant owner or retailer first. Big box nurseries like Home Depot tend not to be very proprietary over a stem or two. 

It's important to make a clean cut so as to not infect the rest of the plant. If the stem doesn't pop off easily, a sterile pocket knife can be used. 

The ideal size for a new cutting is 3-5". Avoid plants with flowers or buds because you want a cutting that will put its energy into root production rather than reproduction. 

Plant in a rich potting soil. We're using the same EcoScraps Organic Potting Mix that we hustle on weekends. It's good stuff.

To maintain higher humidity, we cover the cuttings with our free cloches: halved plastic milk cartons.


With consistent moisture, sunlight, and good soil, the cutting should start rooting quickly. To help the rooting process along, we use a free, natural rooting hormone that I'll write about soon.

Friday, June 1, 2012

Free Plants: Part One

We *try* to grow everything we can get our hands on. I'm going to write about our experiments over a series of posts, with each post focusing on a different method of propagation. First up, succulents!

Anytime I see a succulent display, I scour the shelves and ground for fallen leaves and scoop up anything that looks interesting. These little leaves would otherwise be swept up and dumped, so I have no qualms about taking them home and giving them a chance to become full-fledged plants.

Succulents are easy to propagate:

1. They need to dry for a couple of days until they form a callus at the cutting. I leave mine in a bowl near a window.

Collected cuttings.
 2. After the end's dried out, I prop the leaf or stem upright in a sandy soil. Right now, I use native soil from my yard. Succulent rearing is about the only thing this soil is good for on its own.

3. Water regularly, especially as the plant establishes roots. Make sure that the drainage is excellent, as they don't like soggy soil.

Starting to root.
4. Once the plant is established, you can water less frequently.

5. Continue to take cuttings from the established plant and you have your own infinite source of free succulents. Succulents make terrific gifts!

Thursday, May 17, 2012

Making Yogurt

Making yogurt is stupid easy and cheap. You need milk and yogurt. Costco sells two gallons of full fat milk for about $5. I picked up a container of organic yogurt for less than a buck. You only need to buy the yogurt once, so opt for a variety with as many active cultures as possible. I found one with eight. 

The process: 

1. Heat up your milk to 160° F, or just until it's about to boil. I use a meat thermometer to measure the temperature.

2. Once the milk is hot enough, turn off the stove and let the milk cool to about 110°. It'll take a while.  

3. Add a tablespoon or so of your yogurt and mix it in.

4. Now you have to maintain this temperature, which is kind of tough. We have a gas oven with a pilot light, so it's always warm. Putting the lid on the pot and closing the oven door is enough for me. You might need to wrap the pot in a blanket for added insulation.

5. Keep your soon-to-be yogurt at 110° for 6-8 hours. The longer you let it sit, the more sour it will become.

6. And boom, you've got gallons of yogurt. Save some of your yogurt to use as a culture in the next batch. 

If you mess up and don't end up with yogurt, just squeeze a lemon into your milk mixture and stir until curds form. Drain off the liquid (or save it, I like whey) and you're left with farmer's cheese, essentially Indian paneer.

To make Greek yogurt, drain your yogurt through cheese cloth. I like to keep my yogurt relatively thin so it's drinkable. My favorite is to mix it with salt and ground cumin for a savory lassi.

Restoring Cast Iron

Cast iron lasts lifetimes and is readily available for next to nothing at thrift stores, or you can find it new for less than you'd spend on a non-stick that'd only last, if you're careful, for about a decade. We found an ugly, rusted, abused pan at a thrift store for a few bucks and decided to restore it. The process was a bit time-consuming and smoky, but we can now fry eggs and sear meat, which was impossible in the cast iron enamel cookware I'd brought with me. 

How to do it:

1. Scrub the cast iron with steel wool

2. Coat it with fat (we used leftover bacon fat)

3. Stick it in the oven on broil and let it heat up until it's smoking (open your windows and be prepared for everything to smell like bacon grease for a week)

4. Take out the pan and let it cool

 5. Repeat steps 2-4 until the cast iron has a silky black patina and is smooth, i.e., not sticky, to the touch

To clean, you just rinse and scrub without soap. Stick the pan on a hot stove to evaporate any excess liquid. Periodically rub it down with oil.

Free Furniture!

We relocated to Albuquerque with a carload each and a firm commitment to not plowing through our savings. We hauled kitchen equipment, clothes, spices, seeds, and critters. Everything else was scrounged or bargain hunted. Check out some of our finds:
Cat couch. We were driving through the neighborhood just as the previous owner was placing it on the curb. He also gave us a working printer, which we're using to print shipping labels for Ebay.


We found this fan on the curb while walking Margaux two nights ago. There's nothing wrong with it.

The TV's an alley find for Vadim's video game console. The flower's are Mother's Day leftovers.

Driving home from a dinner party, we spotted this hutch. With a coat of $1 oops paint from Lowe's, it's like new and serves as a perfect coffee station. We found the coffee maker for $5 from Goodwill. It retails new for $80.

The bed was a desperate situation for a bit. Initially, we were camping out on Vadim's crash pad. Soon after, we dumpster dived a very questionable mattress from the 70s, which took a half gallon of vinegar and a lot of elbow grease to make somewhat sanitary. A week later, we found a futon in someone's front yard. They didn't want it and we were more than happy to haul it away. The sketchy mattress serves as additional support beneath the futon's padding. Vadim, by the way, is compulsively researching knives in the background. Jordan chose an Opinel :)