Saturday, June 23, 2012

The ever prolific green.

It's been a while since we've written but a lot has happened since we last posted.

The heat has been increasingly drying. We deep water nearly every day now. A boisterous rainstorm the other day flooded the yard with much needed moisture but smaller seedlings have dried up in just a few days absence of our watering routine. Only the thick-rooted, absorbent plants survive here.

Weeding is more work than usual; they seem to be sprouting constantly. It keeps us busy maintaining the yard but we don't hesitate to visit the garden.

Our first salad harvest! Greens like mad, green onion and oregano.

The greens are quite prolific, despite the 3 hours or so of direct sunlight they receive.

Our productive cucumber plants.
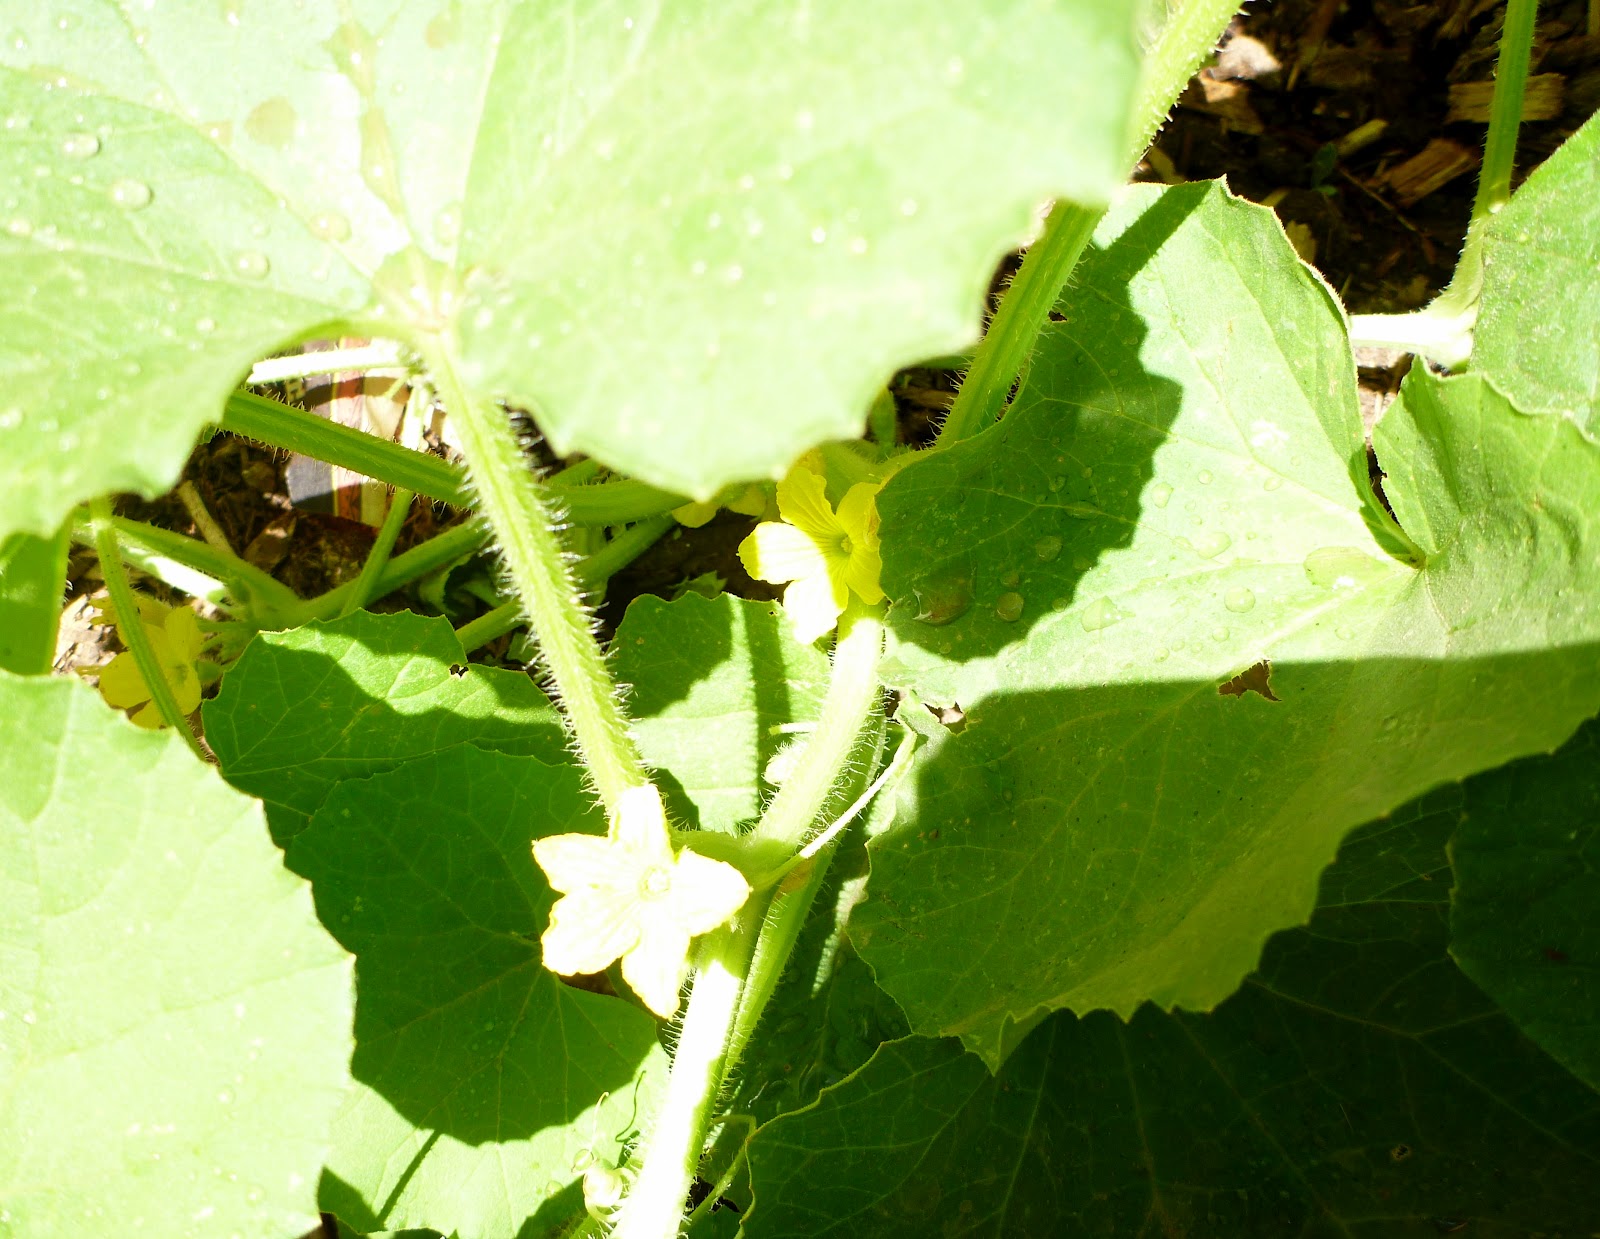
Cucumber flowers.

Salvia gregii, French dwarf marigolds, and possibly tomatillos.

Our cat prowling the roadrunner.

S/He knows.

Our flower garden sunflowers.

We can't quite tell what these are but they're the first flowers to have opened this season.

Jordan slowly soaking our squash and watermelon rows.

Lazarus, the grape cutting we thought had died.

Another soon-to-bloom sunflower.

The nightshades bed panorama.

Thursday, June 14, 2012

Free Plants Part Two: Cuttings

Propagation from cuttings is relatively simple, though we've had the lowest success rates with this method. We're becoming increasingly conscientious in our experiments, however, and have lots of hope for future success. 


We collect cuttings from nearly any plant we're interested in growing, popping or cutting off a stem of new growth at the node. We take pieces of plants from nurseries and from yards. It's polite and ethical to ask the permission of the plant owner or retailer first. Big box nurseries like Home Depot tend not to be very proprietary over a stem or two. 

It's important to make a clean cut so as to not infect the rest of the plant. If the stem doesn't pop off easily, a sterile pocket knife can be used. 

The ideal size for a new cutting is 3-5". Avoid plants with flowers or buds because you want a cutting that will put its energy into root production rather than reproduction. 

Plant in a rich potting soil. We're using the same EcoScraps Organic Potting Mix that we hustle on weekends. It's good stuff.

To maintain higher humidity, we cover the cuttings with our free cloches: halved plastic milk cartons.


With consistent moisture, sunlight, and good soil, the cutting should start rooting quickly. To help the rooting process along, we use a free, natural rooting hormone that I'll write about soon.

Friday, June 1, 2012

Free Plants: Part One

We *try* to grow everything we can get our hands on. I'm going to write about our experiments over a series of posts, with each post focusing on a different method of propagation. First up, succulents!

Anytime I see a succulent display, I scour the shelves and ground for fallen leaves and scoop up anything that looks interesting. These little leaves would otherwise be swept up and dumped, so I have no qualms about taking them home and giving them a chance to become full-fledged plants.

Succulents are easy to propagate:

1. They need to dry for a couple of days until they form a callus at the cutting. I leave mine in a bowl near a window.

Collected cuttings.
 2. After the end's dried out, I prop the leaf or stem upright in a sandy soil. Right now, I use native soil from my yard. Succulent rearing is about the only thing this soil is good for on its own.

3. Water regularly, especially as the plant establishes roots. Make sure that the drainage is excellent, as they don't like soggy soil.

Starting to root.
4. Once the plant is established, you can water less frequently.

5. Continue to take cuttings from the established plant and you have your own infinite source of free succulents. Succulents make terrific gifts!

Cider Update.

The first batch went smoothly, as hoped! It was drier than most bar ciders, cloudier, and had notes of light caramel before it went down, quite satisfyingly we might add! We shared a liter bottle of it with our friends over a game of the Settlers of Catan and decided we'd be making more.

The Sandia foothills via Copper Road.
After a quick hike out here with a meetup group, we swung over to Costco to pick up some kitchen staples. Costco has a not-from-concentrate, preservative-free apple juice for half the cost of the gallon from Sunflower though it comes in thin plastic, which I find unsuitable for pressurized brewing. With about a fifth of the cider left, we poured in most of the gallon of the Costco stuff. It's filtered and not Organic but the flavor is great and the cost is half so we're willing to experiment. Some of the first batch is sitting in the fridge, waiting to be enjoyed at a later month as we also see if aging is truly worth the time.

Batch number two.
Have any of you started brewing since our last post? What are your results like?